To try out TYPO3 9 you only need a few things:
It’s very likely you can tick off point one (cause you’re reading this right now)!
First of all, we open our terminal and check some things.
To check if PHP >7.2 is already installed on our computer we run: php -v. You should get a message like:
Otherwise follow the installation guide on: http://php.net/manual/de/install.php.
Secondly, we’ll check if composer is installed. To do this, we type: composer -V (important: use capital letter). You should get a message like:
Otherwise follow the installation guide on: https://getcomposer.org/doc/00-intro.md.
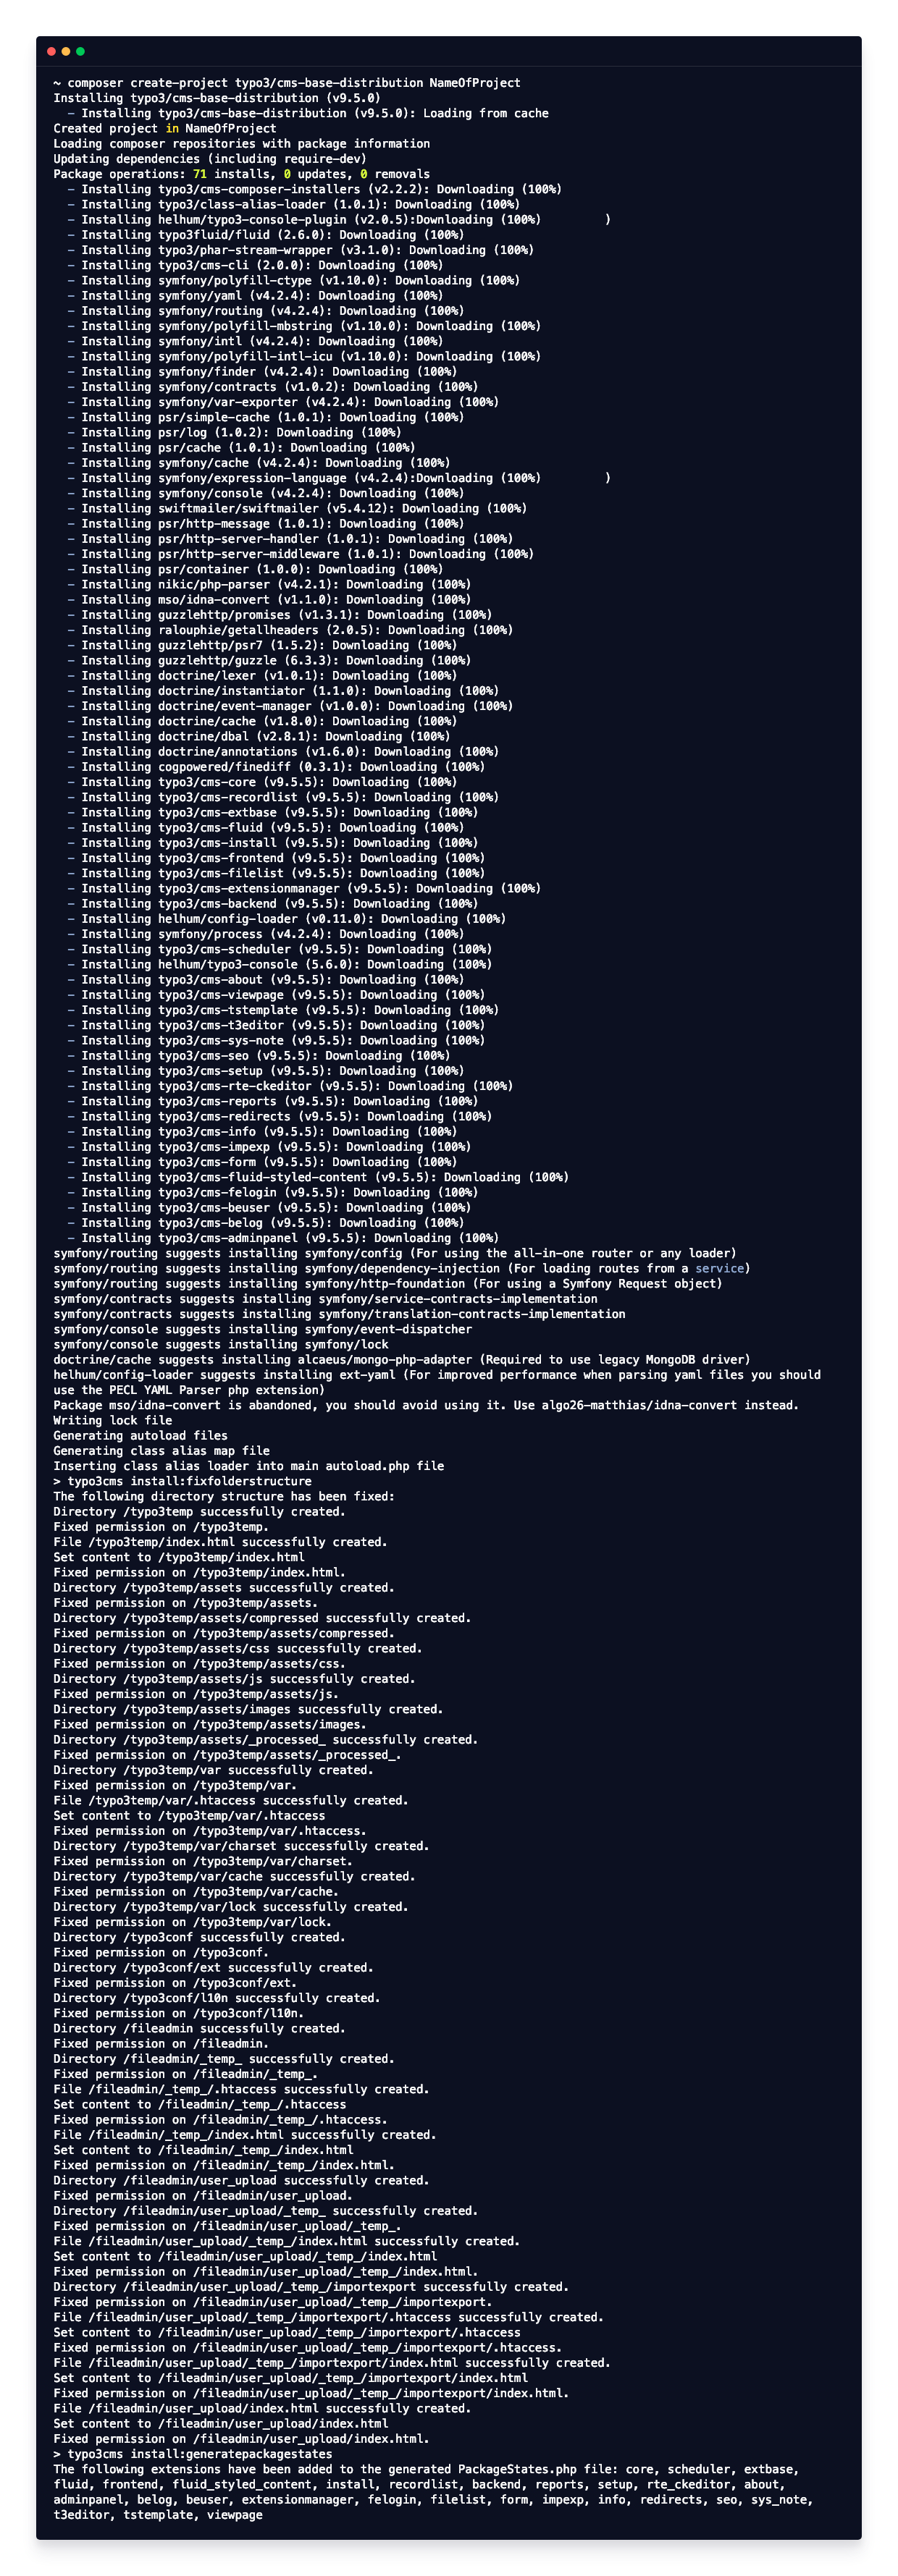
After installing PHP and composer we get to the good stuff: Firstly, we have to create a new TYPO3 project. In the terminal go to your preferred folder and run: composer create-project typo3/cms-base-distribution NameOfProject. Composer downloads the latest stable release of TYPO3. In addition, a few packages are being installed. Later on, you can download and install (maybe your own) packages yourself.
You know you did it correctly once you see a message like this at the end of the output:
Navigate to NameOfProject. Secondly, the setup is required. To do so run TYPO3_CONTEXT=Development php -S localhost:1234 -t public. This command starts the PHP build-in server. Moreover, TYPO3 context is set to Development.
You can access your website on localhost:1234. If port listening fails, you have to declare another port number.
Go to your local site localhost:1234/typo3/install.php.
In the first step the Install Wizard scans your environment. In my case there are three issues. Because these three problems are only suggestions for a better TYPO3 experience, I ignore them and ‘Continue with errors’. In case of other/more detected issues, you should carefully read through each description and decide if you have to make some changes. Of course, you can also fix the three errors that were detected my Install Wizard.
Step two is the important one. We have to select our database. We select „Manually configured SQLite connection“.
This creates a typo3.sqlite file in „var/sqlite“. This single file contains the whole typo3 database with all tables.
Now click on continue to go to the next step. In this step we create our admin user and specify our site name. Choose any username, password and site name you prefer and continue. However, the password must have a certain strength.
In the last step we choose „Create empty starting page“ so that we have an easier beginning.
Now start your own journey through your complete locally installed TYPO3 9 project.